
photo courtesy of John Mangan
[UPDATED 11/27/2016, 12/3/2016, 6/15/2020]
My next project is going to be an installation of the Cobalt Hood Lift Kit (part # 910-720) that was developed for the Mazda MX-5 (ND) and has been verified to work on the Fiat 124 Spider as well. People seeing my vehicle at car shows keep asking me to pop the hood so they can peruse Fiat’s longitudinal placement of the Abarth engine, so I figure – why not make the hood opening process easier, like the hoods in most classic cars?
Even better than free shipping, MossMiata.com had part # 910-720 Hood Lift Kit (make sure you select the correct model) on sale for $79.99 ($20 off) and so with S/H ($14.49), the total came to $94.48. I put in my order.
I installed the kit today (12/3/2016) and although I oriented the quarter panel brackets incorrectly, the install still went very smoothly after swapping them. So here are my installation tips:
![]() Make sure the brackets on the quarter panels are oriented such that the ball studs are inline with the forward holes. I later realized that there are two applicable photos in the instructions – one with Step 3 and another with Step 4. In my opinion, the Step 3 photo (which I had concentrated on) could have been eliminated and substituted with a less confusing version of the Step 4 photo. The Step 4 photo is technically correct, but the orientation lead me to install the brackets incorrectly (ball stud inline with the rear hole) and I had to remove them both, swap and reinstall. I feel that the photo should have been oriented as it would look when you’re standing there facing the opened hood (not standing in the passenger’s seat), with the “Forward” arrow (which had escaped my notice) aiming down, as the photographer did for the Step 2 photo. When the gas struts appeared to be too long, I realized my mistake.
Make sure the brackets on the quarter panels are oriented such that the ball studs are inline with the forward holes. I later realized that there are two applicable photos in the instructions – one with Step 3 and another with Step 4. In my opinion, the Step 3 photo (which I had concentrated on) could have been eliminated and substituted with a less confusing version of the Step 4 photo. The Step 4 photo is technically correct, but the orientation lead me to install the brackets incorrectly (ball stud inline with the rear hole) and I had to remove them both, swap and reinstall. I feel that the photo should have been oriented as it would look when you’re standing there facing the opened hood (not standing in the passenger’s seat), with the “Forward” arrow (which had escaped my notice) aiming down, as the photographer did for the Step 2 photo. When the gas struts appeared to be too long, I realized my mistake.
![]() I found it much more convenient during installation, to hold the hood up higher than the prop rod holds it by using an adjustable pole for a ceiling paint roller. It just makes getting to the hood bracket bolts so much easier, and as long as the instructions are followed, the hood won’t shift as you’re working on the hood brackets because 3 of the 4 bolts will always be in place. The instructions said to “support the hood with one hand and remove the top bolt” and later after reinserting it, “continue to support the bottom corner of the hood and remove the bottom hinge bolt”, but I didn’t find supporting the hood necessary – perhaps because the hood was in a more convenient position and/or perhaps because I did the install in my garage, not in a windy driveway.
I found it much more convenient during installation, to hold the hood up higher than the prop rod holds it by using an adjustable pole for a ceiling paint roller. It just makes getting to the hood bracket bolts so much easier, and as long as the instructions are followed, the hood won’t shift as you’re working on the hood brackets because 3 of the 4 bolts will always be in place. The instructions said to “support the hood with one hand and remove the top bolt” and later after reinserting it, “continue to support the bottom corner of the hood and remove the bottom hinge bolt”, but I didn’t find supporting the hood necessary – perhaps because the hood was in a more convenient position and/or perhaps because I did the install in my garage, not in a windy driveway.
![]() I just used scissors to cut ¾” off of each end of the firewall seal, rather than cutting just the vertical portion off as the picture below seems to illustrate.
I just used scissors to cut ¾” off of each end of the firewall seal, rather than cutting just the vertical portion off as the picture below seems to illustrate.
![]() I also couldn’t believe how easy it was to remove the prop rod afterwards – you simply push in towards the center, 3 of the 4 tabs on the round plastic bracket that holds the rod at it’s swivel point. The prop rod is useless after the kit is installed anyways.
I also couldn’t believe how easy it was to remove the prop rod afterwards – you simply push in towards the center, 3 of the 4 tabs on the round plastic bracket that holds the rod at it’s swivel point. The prop rod is useless after the kit is installed anyways.
In my opinion – – –
INSTRUCTIONS COULD BE MORE INTUITIVE, BUT EXCELLENT PRODUCT!!

driver’s side – hood
driver’s side – quarter panel
Cobalt’s Progressive Struts are said to start assisting the hood opening about half way up and gently lift it to the fully open position (even further than the factory prop rod). They claim that other kits use inexpensive linear struts that are either too strong or to weak that cause the hood to raise so fast it comes to a shuddering stop at the top stressing all components or requires you to lift the hood all the way open yourself. The stress from those can also exert a bowing force at the mounting point of the hood. Makes sense to me.
Preview the installation instructions of this kit that uses bolts and the welded threaded nuts already in place on the vehicle, and I think you’ll agree that this should be is an easy project. The struts actually lift the hood much higher than the prop rod (and more securely), giving you greater access to everything in the engine compartment.

these 2 photos courtesy of theanhdy

Interesting side story…
* Because of stringent pedestrian crash standards in the European Union, MX-5s and Fiat 124 Spiders produced for that market having such low hoods are required to incorporate “Impact Absorption Bonnets” (a.k.a. Deployable Hood Systems; Australians also get them) to mitigate the impact to a pedestrian’s head (into the windshield) in a frontal impact if the vehicle is travelling above 20 km/h, by popping up the rear end of the hood with two gas propelled actuators. These actuators fire against a small plate attached to the hood on each side which instantly lifts the rear of the bonnet by 120mm, creating a crumple zone above the engine to absorb some of the impact energy with the unfortunate pedestrian. Unfortunately, it seems the system has been known for occasionally activating itself in non-collision circumstances, resulting in VERY expensive repair costs. You can observe the active bonnet in action by watching this Euro NCAP YouTube video. Disclaimer – Use the information in the following paragraph at your own risk; I added for knowledge purposes only…
 For those wishing to temporarily bypass active bonnet actuators, seat belt pretensioners, alternative seats that don’t have seat bolster airbags, etc., for track day (or diagnostic purposes), one can purchase “Bypass” modules (simply a 2.2 Ohm resistor inside, rated @ ½ watt, or more; mandated gold-plated terminals for SRS circuitry reliability) from China on eBay for around $2.00 each, that can be plugged into the harness in place of any bypassed components, to fool the SRS module into thinking that those components are in ready-mode. Search eBay for words like “Car Airbag Simulator Emulator Resistor Bypass SRS Fault Finding Diagnostic Kit”.
 Once activated, the Supplemental Restraint System (SRS) control module will trigger a flashing red dashboard warning light (Check Bonnet, in other words – the mangled hood) and since the actuators cannot be re-used, not only will those parts and the hood need to be replaced (as well as any deployed airbags), but the module will also need to be sent to a company that can clear all of the codes for you.
 Do NOT power-up the vehicle (re-engage the battery) while airbags and/or other SRS components are missing/non-bypassed, because without special equipment, you may find yourself unable to clear triggered codes from the SRS control module afterwards, and having to instead send it to a company that can clear those codes for you.
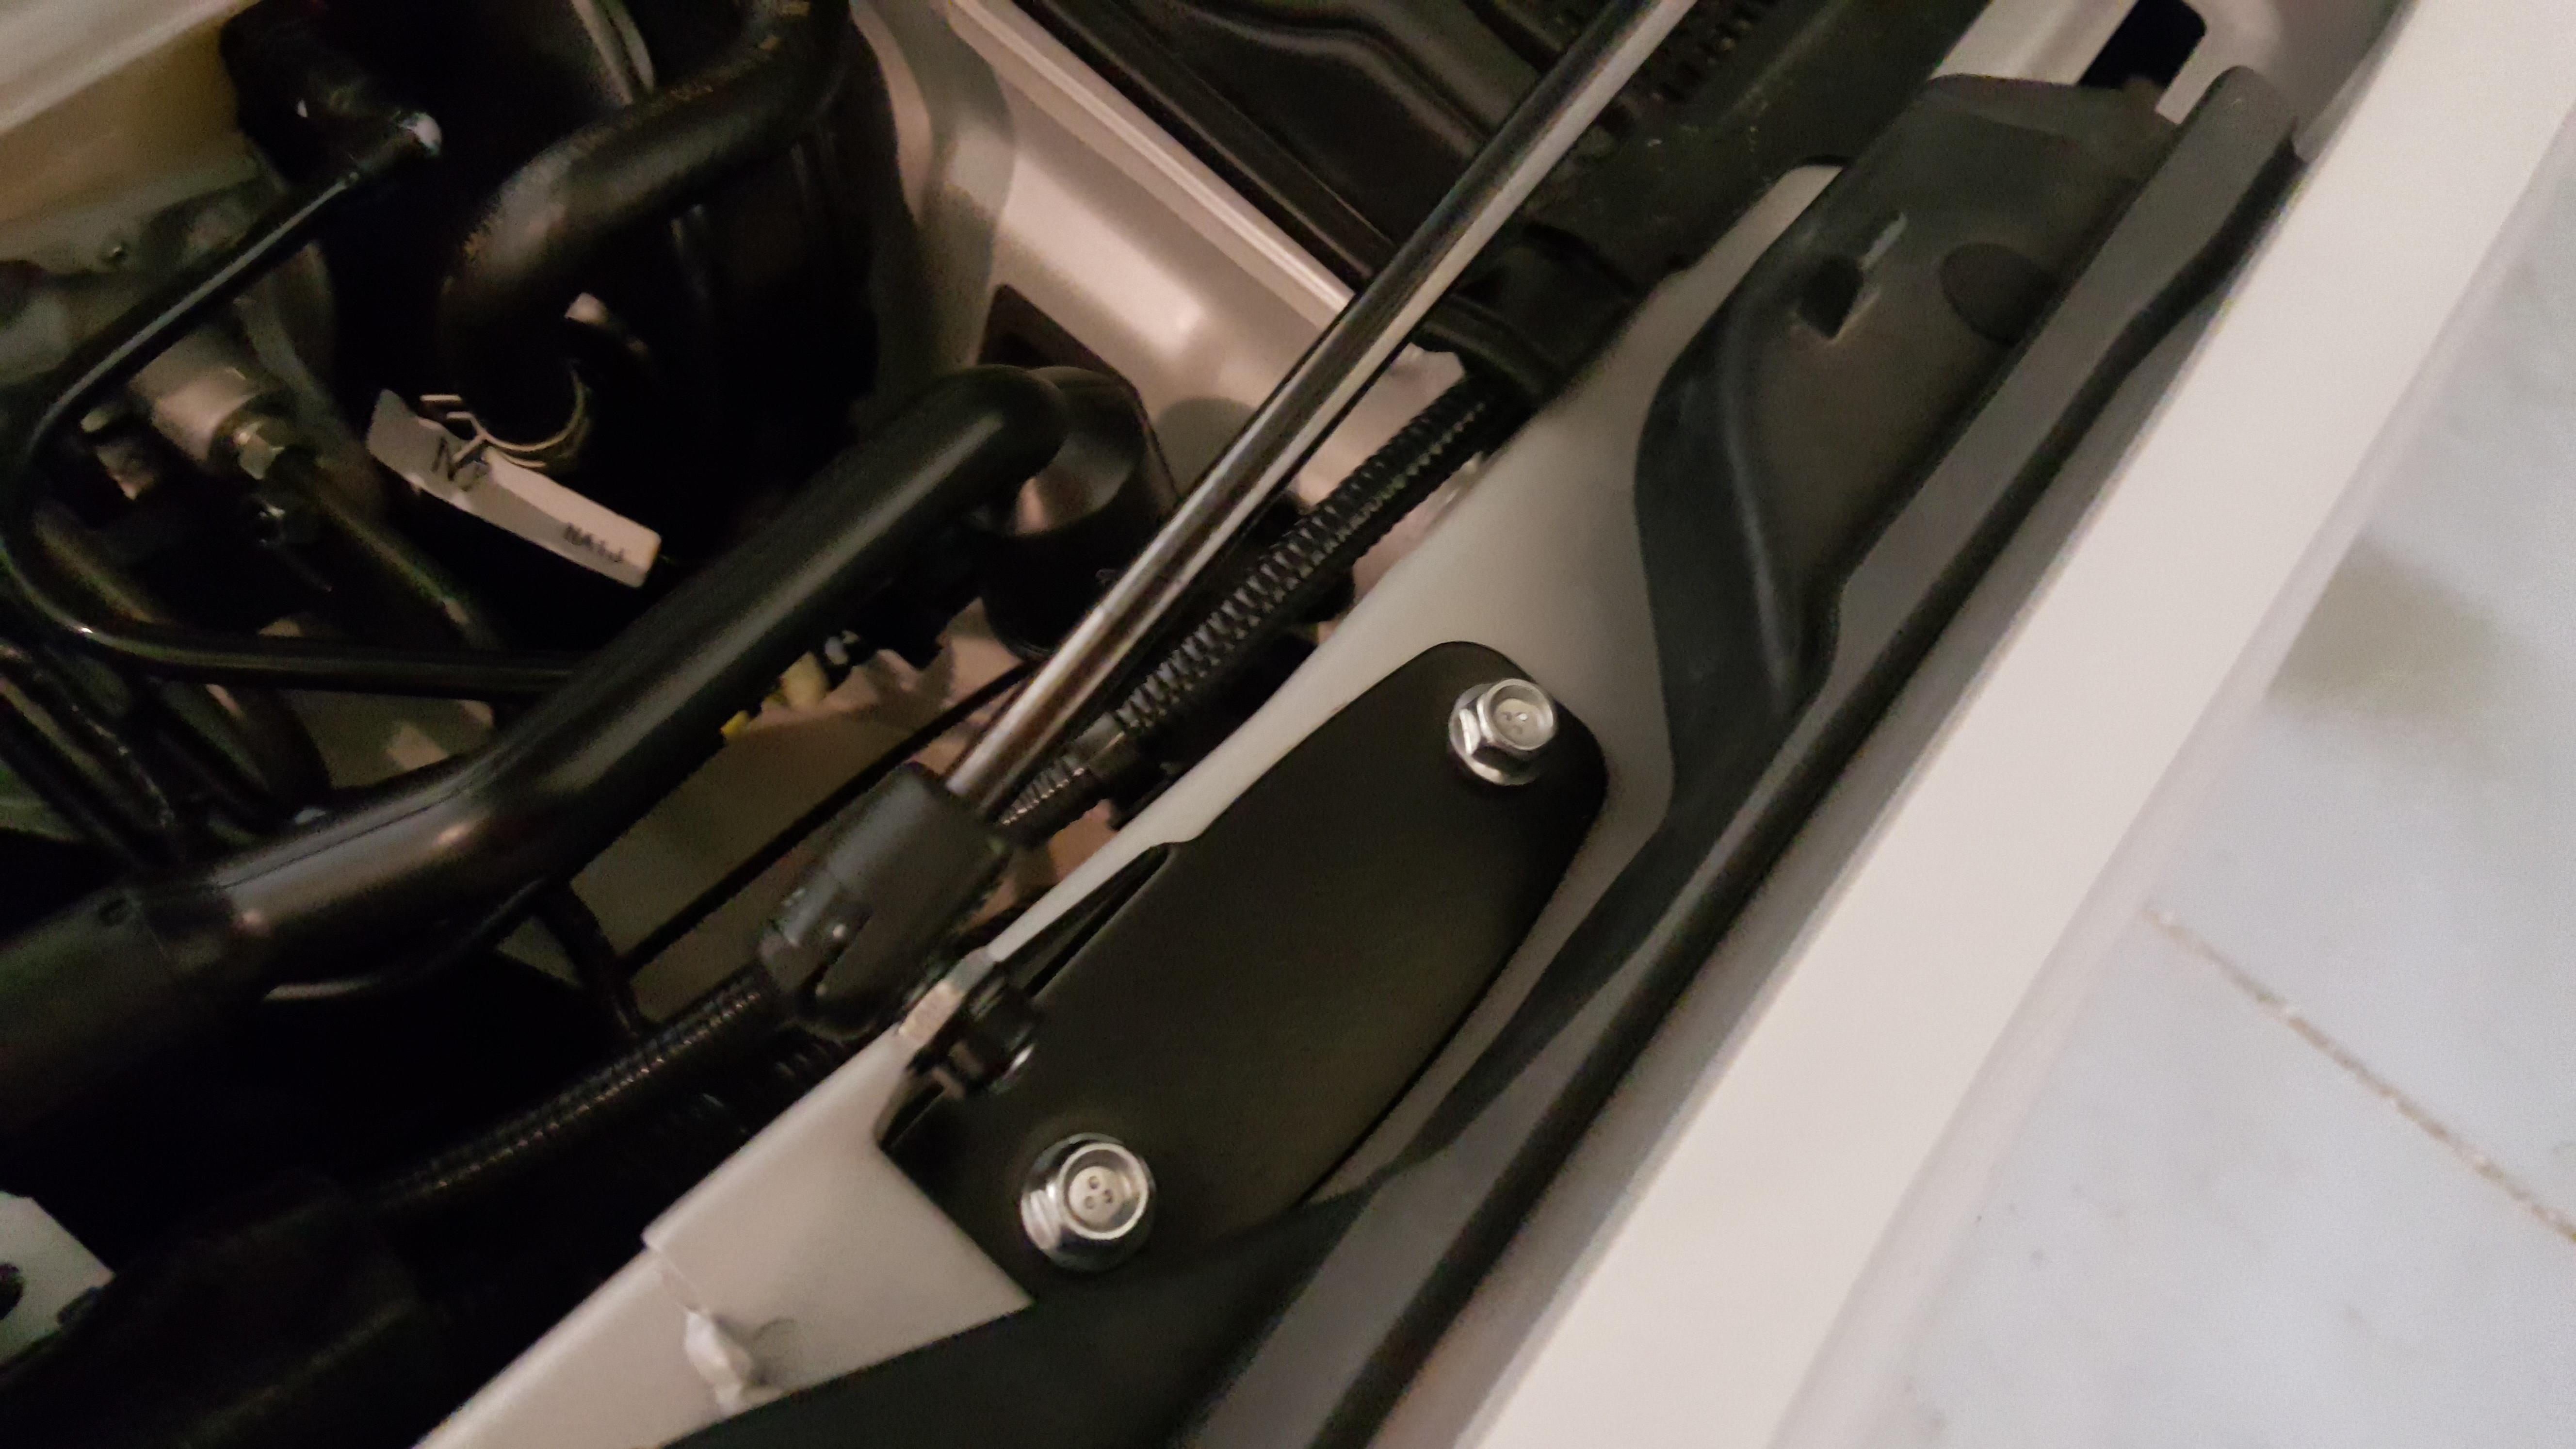
I suspect that the holes and weld-nuts in the quarter panels that these hood lift kits use, were originally designed for hood lifts, but were re-purposed for the active-hood actuators in European vehicles.
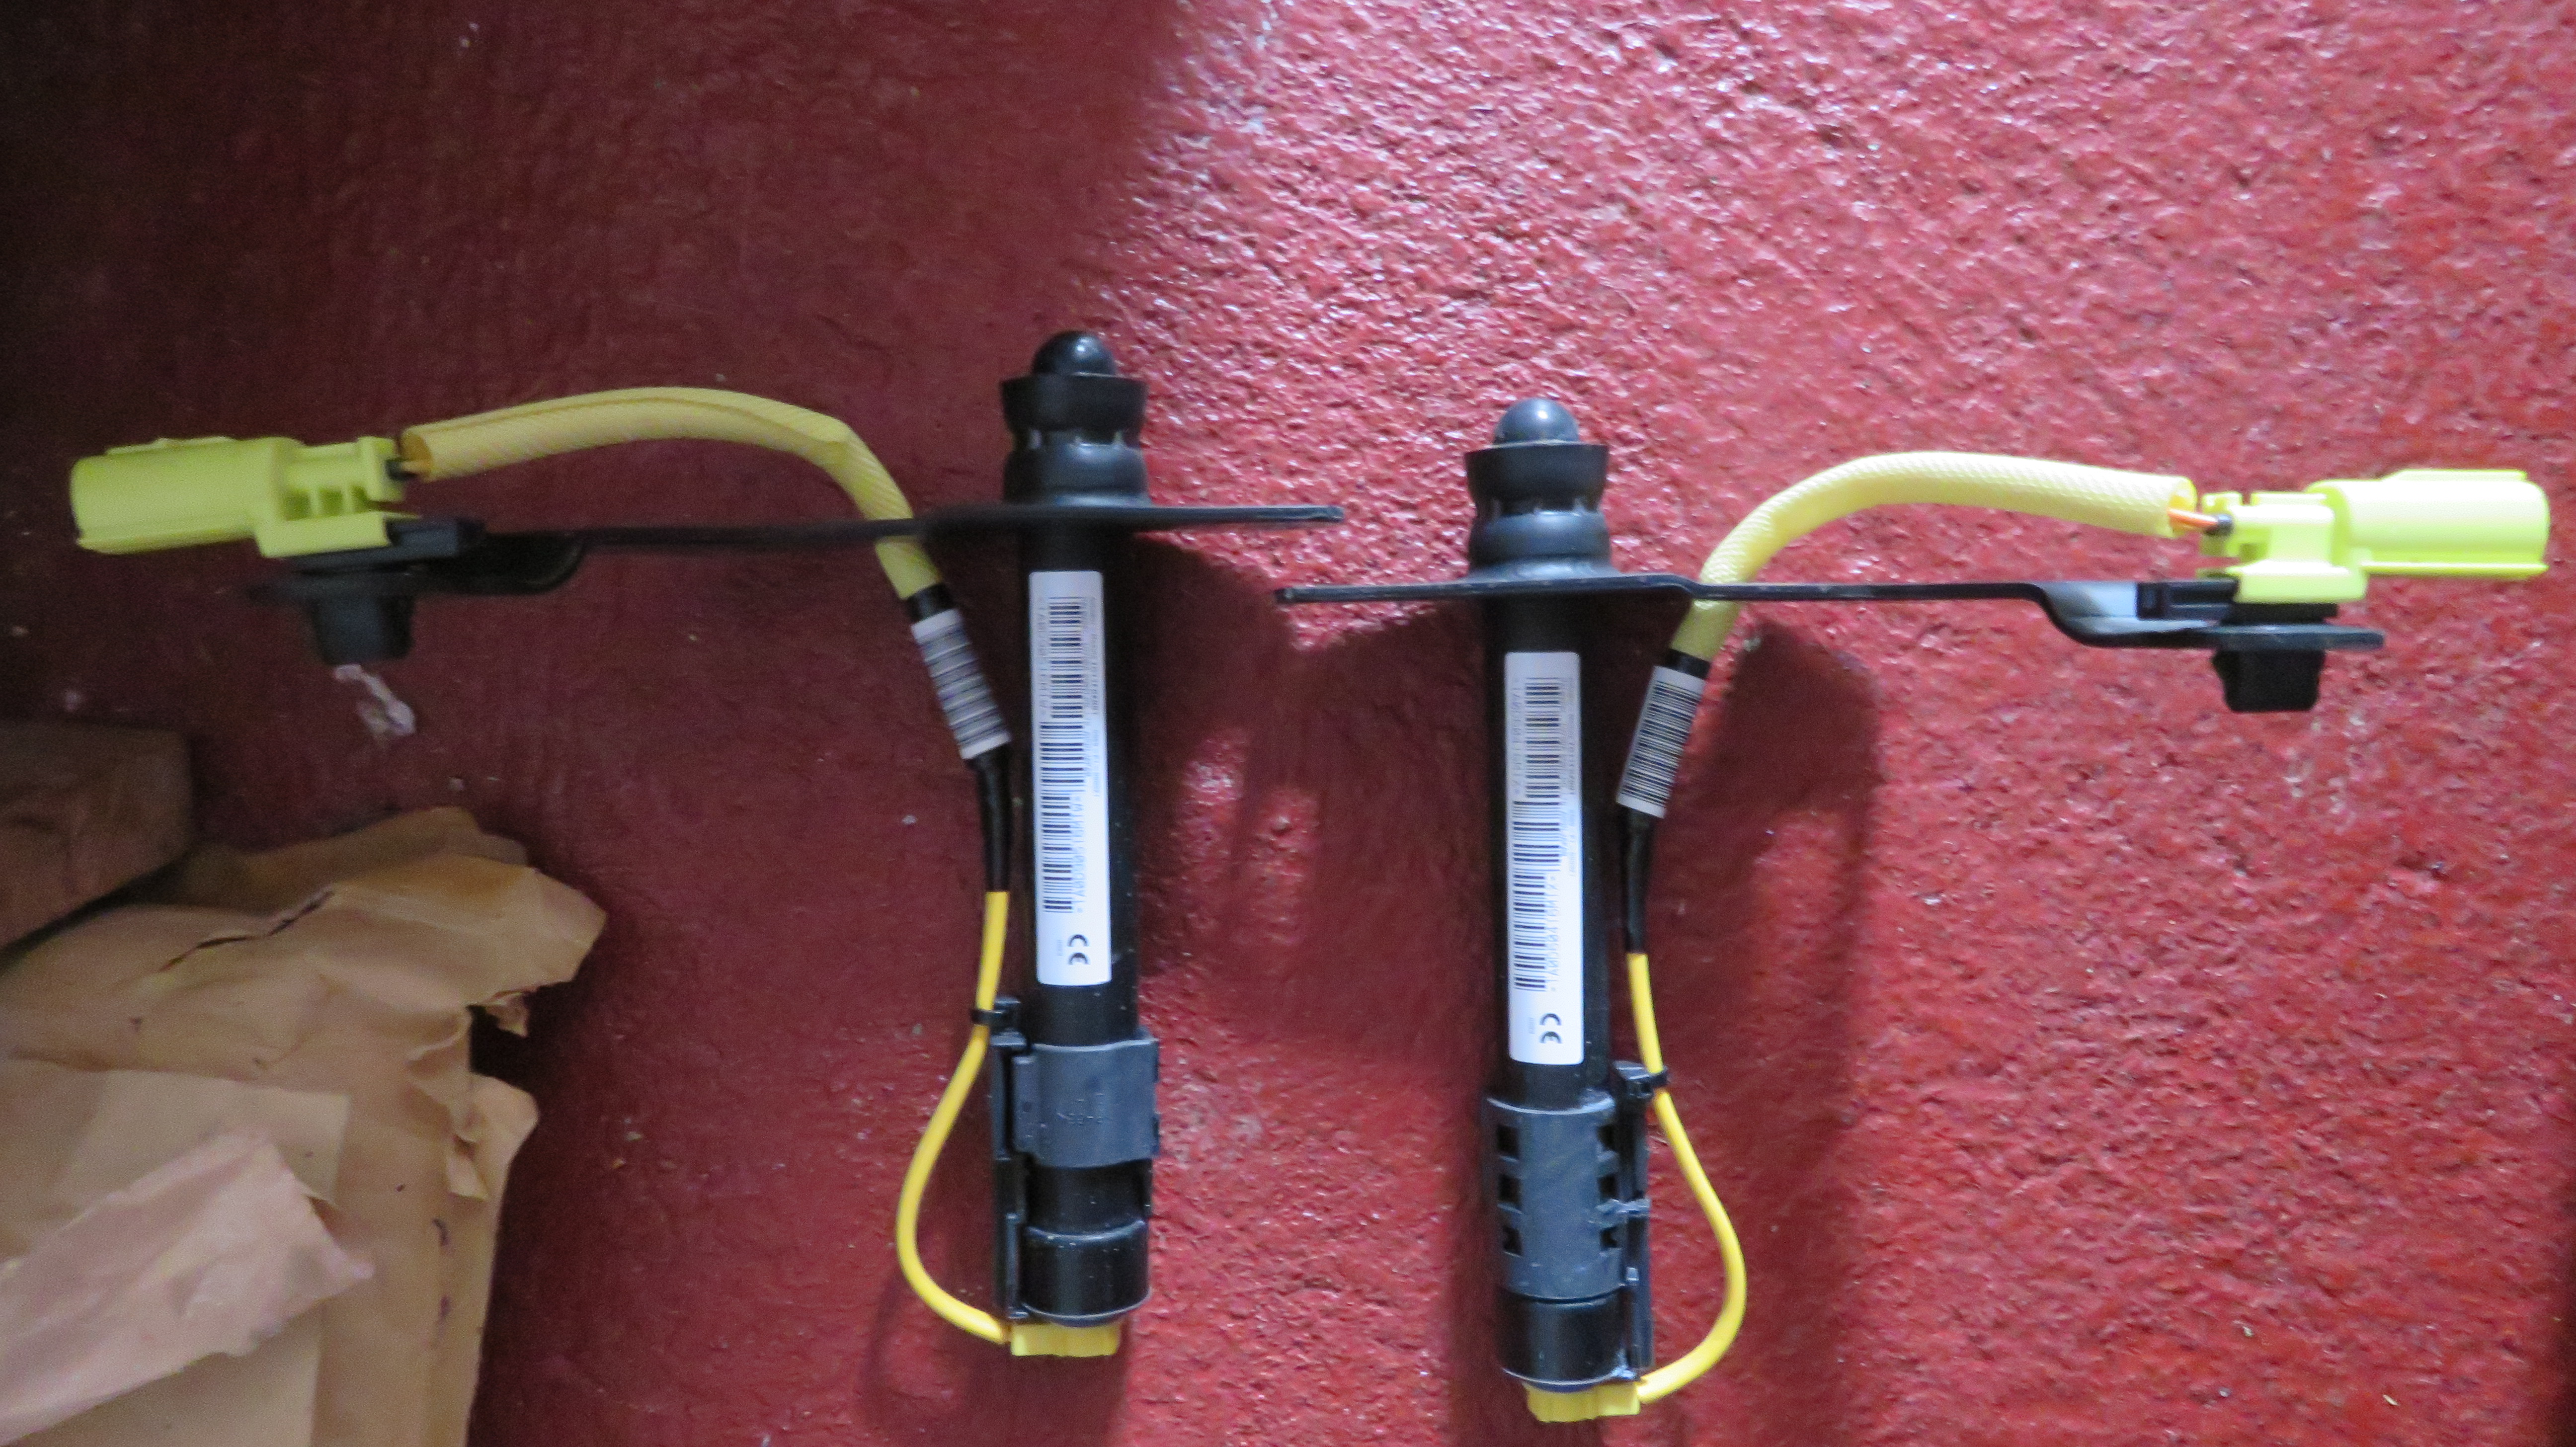
photo courtesy of Brexit
In non-European vehicles, blank plates are bolted over these same holes and the hoods are held in the up position for all global markets, with a prop rod instead. These hood kits replace those blank plates on the quarter panels with brackets, and two additional brackets are mounted on top of the hood’s hinge brackets, so by using all of the existing bolts and welded threaded nuts, an easy OEM-looking installation is accomplished.

How Active Bonnet works

[added 6/15/2020]
Apparently, kits are available (from SOKIEtech) to accommodate European vehicles using revised brackets, as shown in another photo by Brexit


If you’d like a sharper res version of the red car pic, I shot the original in my driveway and could send you one.
LikeLiked by 1 person
Sent you an email. Thanks.
LikeLike
Quick question Dan; Did you use anything like LocTite on the bolts when you installed them, or just tightened them as much as you could without potentially shearing the bolt head? I’ve ordered my kit and it should arrive before the end of this week, so I envision this as quick evening project. Your response will be much appreciated as always…
LikeLike
Hi again Cal,
I did not use LocTite, and I don’t recall seeing evidence of any on the removed bolts. I tightened them with an 8″ ratchet until there was no more movement (the same degree of force needed to remove).
LikeLike
Thank you for the quick reply Dan. I’m looking forward to having this little enhancement complete. Each time I go to my dealer for an oil change, the service manager is entertained by what I’ve done since the last visit. This hood lift kit is one of the best things going, and now I’m searching for them for my other vehicles.
LikeLiked by 1 person
I have the deployable bonnet and removed the actuators to fit the hood lift kit and put 2.2 ohm fuseable resistors in the plugs where the actuators go thereby eliminating the flashing light issue on the dash. As an added benefit, now if I hit a dog or cat, which has been known to happen, the hood won’t be deployed/destroyed.
LikeLiked by 1 person
Wow.
You COULD do that, but by doing so you’ve invalidated your insurance policy. I hope for your sake you never hit anything or anyone, because once they see you’ve removed a mandated safety component on the vehicle you’re in for an interesting ride through the legal system. Yikes.
I would not recommned this as a solution without advising people of the liability risk before they proceed. Members on the 124 Spider forum from the UK have come up with other installation scenarios that don’t disable the safety features on the vehicle.
LikeLiked by 1 person
I too don’t think that the convenience of assistance in raising the hood (bonnet), was worth sacrificing a mandated safety component, especially since Brexit has shown a kit that works in conjunction.

LikeLike
Hi Peter,
a further issue to think about is that with this mod your car still thinks that it has an operational active hood system. So when it detects an impact event it will still try to activate it.
I could only find a rough sketch detailing the system but from the looks of it it is operated by the SRS module. The threads on the Miata board say that once the system has been activated its control module has to be replaced as well because Mazda won’t guarantee that its internals haven’t been damaged. That’s nothing I’d ignore since the SRS module also controls your airbags.
Could imagine that it might be difficult to argue with your insurance company why you want them to pay for a replacement SRS module if the hood lift pyros haven’t fired.
As the other have already mentioned; the liability risks make this mod viable for track-use only. But then you can get the same result by just unplugging the pyros. That might also have the benefit of not frying your control module since it might not attempt to detonate the pyros if they are not connected.
LikeLiked by 1 person
I’m not recommending removal of the actuators!!!!
But for those that need to temporarily bypass active bonnet actuators, seat belt pretensioners, airbags, etc., for track day (or diagnostic purposes), one can purchase modules from China on eBay for around $2.00 each, that can be plugged into the harness instead of the bypassed component) to fool the SRS module into thinking that component is in ready-mode. Search eBay for words like “Car Airbag Simulator Emulator Resistor Bypass SRS Fault Finding Diagnostic Kit”.
LikeLike
Pingback: Adding Lumbar Support to Seats / Lowering the Seats | 21ˢᵗ Century Fiat / Abarth 124 Spider